PC workflow guide
Learn how to use owl3d on pc step by step
This guide explains how to use owl3d on pc, from preparing a source file to checking the finished depth effect. Follow the sequence below to avoid common setup and export problems.
Core workflow
Numbered steps for Owl3D on PC
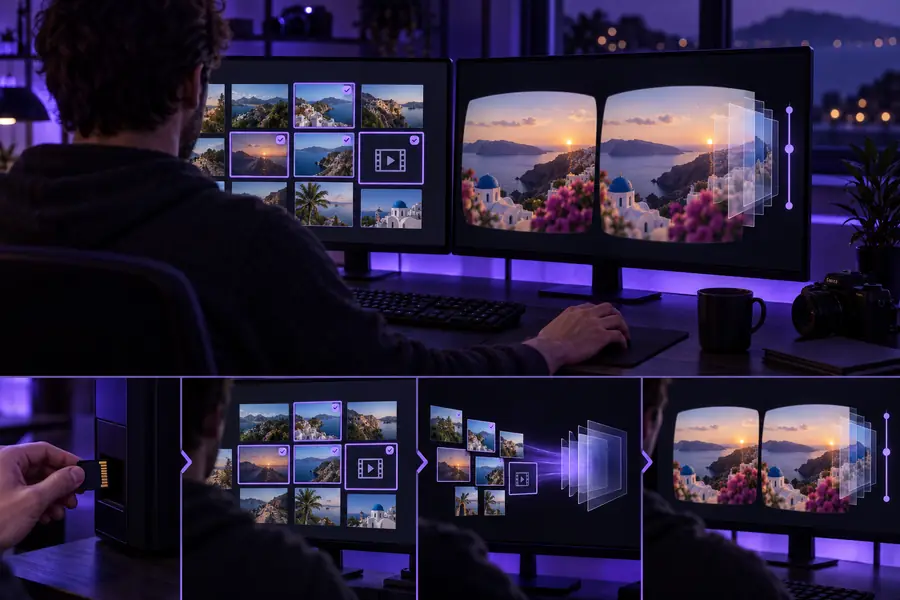
The basic process is a short pipeline: prepare a suitable source, let Owl3D estimate depth, then inspect and export the result.
-
1
Prepare and open the source
Choose a sharp 2D image or video with a clear subject, visible foreground and background separation, and minimal motion blur. Keep the original file untouched so you can compare the converted result later.
-
2
Run the depth conversion
Import the source into Owl3D, select the available 3D conversion workflow, and start processing. Let the analysis finish before judging the preview; early frames or partially processed scenes may not represent the final depth map.
-
3
Review, adjust, and export
Scrub through the result and look for halos, flat areas, edge tearing, or uncomfortable depth. If the controls allow it, reduce excessive separation before exporting a format that matches the device or player where you plan to view it.
-
4
Test the output on its destination
Open the exported file in the intended 3D viewer, headset, or compatible display. A result that looks convincing in a desktop preview can feel too deep or too flat when viewed at a different size or distance.
Before you begin
Prerequisites and requirements
A careful setup makes the conversion more predictable and gives you a clean baseline for judging the output.
-
A Windows PC capable of running the Owl3D application and processing the selected media.
RequiredCheck the current application requirements before installing.
-
A supported 2D image or video file stored locally on the computer.
RequiredKeep the original resolution and make a backup copy.
-
Enough free storage for the source, temporary processing data, and exported 3D file.
Required -
A stable graphics driver and operating-system environment.
RequiredRestart after driver updates if the application behaves unexpectedly.
-
A media player, display, or headset that can open the chosen 3D output format.
OptionalOptional for processing, but useful for checking the final viewing experience.
-
A short test clip or representative still image for the first conversion.
OptionalTesting a small sample can reveal workflow issues before a long export.
Continue exploring
Related Owl3D guides
Use these focused pages when you want to compare the workflow, understand the tool, or choose a different input type.
Troubleshooting
Common errors and fixes
Automatic depth conversion is useful, but it cannot recover information that is absent from the source. These are the most common limits of the route and practical ways to respond.
-
Flat or ambiguous scenes
A source with little separation between the subject and background may produce a shallow or uneven result. Similar colors, heavy shadows, and transparent objects can also confuse depth estimation.
WorkaroundChoose a frame with clearer layers, improve the source contrast before conversion, or reduce expectations for background depth.
-
Fast movement and occlusion
Video frames can contain motion blur, newly revealed areas, or objects crossing one another. Those changes may appear as flicker, tearing, or inconsistent depth from frame to frame.
WorkaroundStart with a shorter, steadier clip and inspect several points in the timeline before committing to a long export.
-
Edges, hair, and thin objects
Fine hair, wires, foliage, smoke, and small gaps are difficult to separate cleanly from their surroundings. They may show halos or appear attached to the wrong depth layer.
WorkaroundUse a cleaner source, crop out distracting details when appropriate, and lower the perceived depth rather than forcing a stronger effect.
-
A file that will not play correctly
Processing and playback are separate problems. An export can complete successfully while the target player or display lacks support for its 3D layout or codec.
WorkaroundConfirm the destination format before exporting, then test a short output in the exact player or device you will use.
Workflow evolution
Advanced tips for better results
The modern 2D-to-3D workflow combines depth prediction with deliberate source preparation and visual quality control.
-
Manual depth separation
Artists often built depth information by hand, assigning foreground and background layers one region at a time. The approach offered control but required substantial effort for every image or frame.
-
Single-image depth prediction
Machine-learning depth estimation made it practical to infer a useful starting depth structure from one ordinary image. The result still benefits from review, especially around edges and hidden surfaces.
-
Consistency across motion
For video, a convincing conversion needs more than a good individual frame. Temporal consistency matters because changing depth estimates can create shimmer or uncomfortable movement.
-
Preview, tune, and validate
A reliable PC workflow now treats conversion as an iterative process: prepare a representative source, preview the depth, make conservative adjustments, and validate the export on its final destination.
Quality check
Before and after: what to inspect
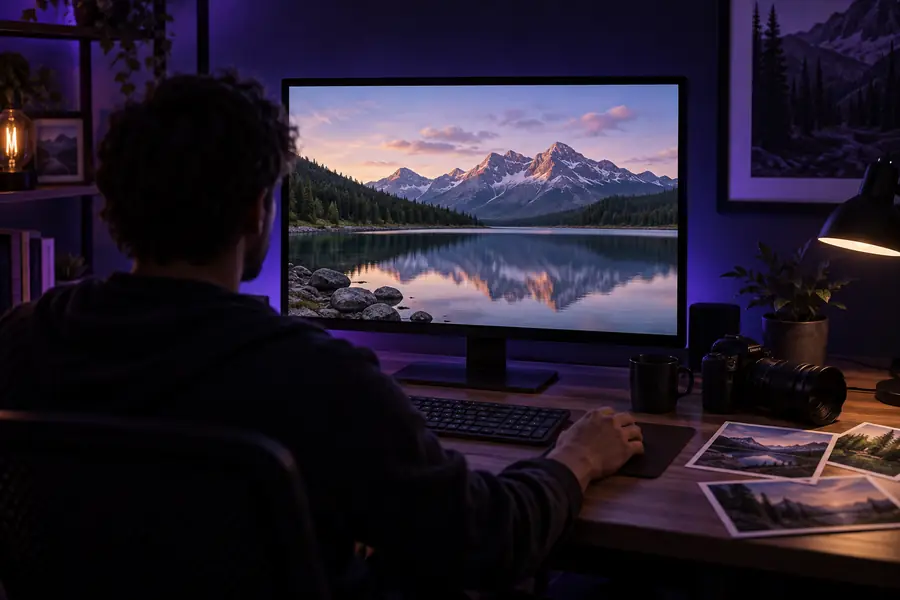
Compare the original source with the converted result at the same subject and frame. The goal is believable separation, not maximum depth.
- Before: original 2D source
- After: depth-aware 3D result
Look first at faces, hands, hair, and object boundaries. If those areas show halos or wobble, lower the depth strength or choose a cleaner source before exporting.
Tutorial FAQ
Tutorial FAQ
These answers cover the practical questions people ask when starting the Owl3D workflow on a computer.
Install and open Owl3D on a compatible PC, then import a supported 2D image or video. Start the conversion, review the depth result, make conservative adjustments if available, and export the file for testing in your intended player or display.
Owl3D analyzes visual information in a 2D image or video and estimates how foreground, subject, and background regions relate in depth. It uses that estimate to create a 3D-style result, but the quality depends heavily on the source and still requires visual checking.
The workflow can be applied to supported still images and video sources, but the review process is different. Images are judged as one composition, while videos must also be checked for frame-to-frame stability, motion blur, and consistent edges.
Inspect the subject outline, hair, hands, thin objects, and areas where foreground objects overlap the background. Then test the exported result in the actual player or display you plan to use, because playback support and perceived depth can vary by device.