Photographers
Give a portrait or landscape image more dimensional separation without rebuilding the scene from scratch.
Create a depth-aware version for visual experiments and immersive presentation.
owl3d examples freeImage to depth
If you are asking how can I convert a 2D image to 3D, Owl3D gives you a focused path from one flat source image to a depth-aware result. Start with a clear subject, then review how the foreground and background separate.
A single image can become more useful when its visual layers are easier to inspect, present, or place inside a 3D workflow.
Give a portrait or landscape image more dimensional separation without rebuilding the scene from scratch.
Create a depth-aware version for visual experiments and immersive presentation.
owl3d examples freeTurn a concept frame, illustration, or reference image into a more dimensional asset for a storyboard.
Explore camera movement and depth before committing to a full 3D production.
owl3d online freeUse a diagram, historical photo, or object image as the starting point for a spatial explanation.
Make layers and object relationships easier for learners to understand.
how does Owl3D workPrepare a still image for a sequence where subtle depth adds interest between moving shots.
Build a more dimensional visual handoff before working with a longer clip.
how can I convert a 2D video to a 3D videoThe route is simple: begin with a flat source, create a depth-aware interpretation, and inspect the result before using it elsewhere.
The best result depends on the source image and on how much depth the scene can reasonably reveal.
Source image
3D result
Source image
Flat pixels with visual cues for distance
3D result
Depth-separated interpretation of the scene
Source image
Detail is present only in the original view
3D result
Important features are evaluated for dimensional consistency
Source image
Appears as one continuous image area
3D result
Can be visually separated from the main subject
Source image
No natural viewpoint change
3D result
Supports limited spatial inspection and presentation
Source image
Sharp, well-lit images with a clear subject
3D result
Results benefit from distinct foreground and background layers
Source image
Hidden sides and unseen surfaces are absent
3D result
Those areas must be estimated rather than recovered exactly
A before-and-after comparison makes the transformation easier to judge than a technical label alone. Look first at subject separation, then inspect edges and fine details.
The result adds interpreted depth; it does not recover hidden pixels that were never in the source.
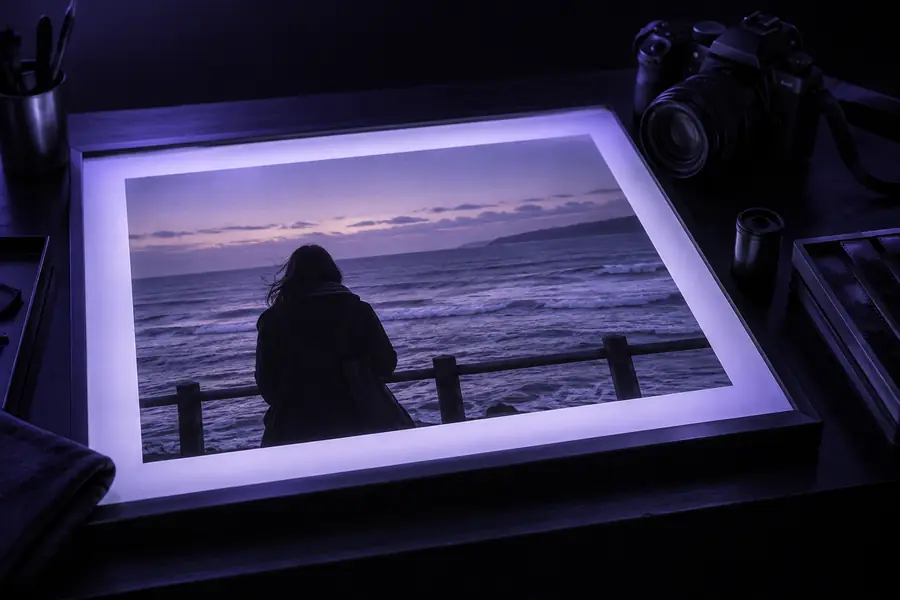
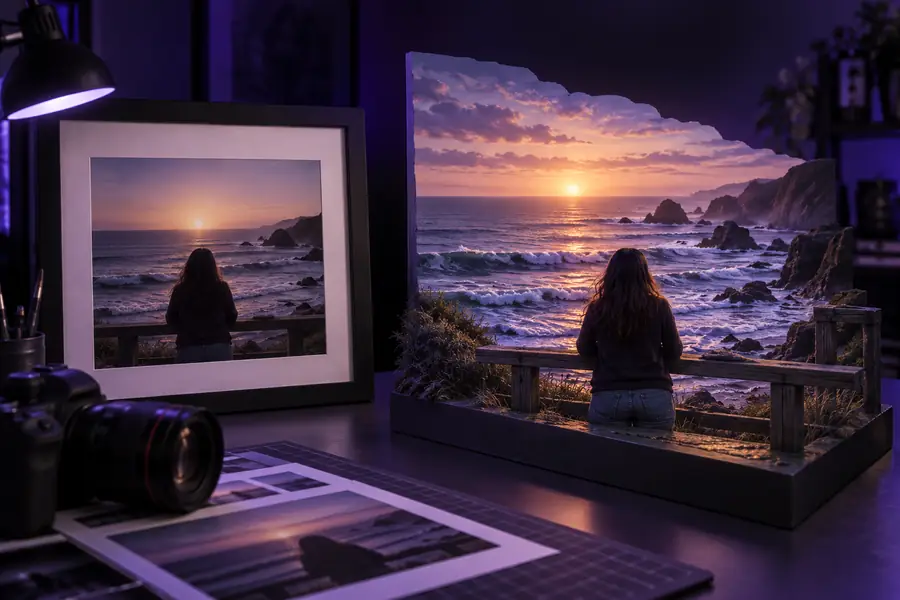
Choose the next route according to the kind of source you have and the level of guidance you need.
A conversion can add useful dimensional structure, but it cannot turn missing source information into verified photographic detail.
The original image does not contain reliable information about surfaces hidden behind the subject or outside the frame.
WorkaroundUse a multi-view capture or a full 3D asset when unseen surfaces are essential.
Blur, compression, tiny subjects, and heavy shadows can make edges and depth boundaries uncertain.
WorkaroundStart with the sharpest, largest source image available and crop distractions before conversion.
The output is an interpreted depth result, not a measured scan of the real-world scene.
WorkaroundTreat it as a visual asset for presentation and iteration, then verify important dimensions separately.
A still image can gain dimensional presentation, but it does not automatically provide a complete rig, motion system, or production-ready scene.
WorkaroundMove to a dedicated 3D workflow when characters, object motion, or complex camera paths are required.
Keep the process deliberate: better source preparation usually produces a more convincing depth interpretation.
Choose a sharp image with a visible main subject, useful contrast, and enough separation between near and far elements.
State what should feel closest, what should recede, and whether the style should remain natural, illustrative, or cinematic.
Inspect edges, facial features, thin objects, and background transitions before saving or using the result in another workflow.
These answers address the practical question behind this conversion route.
Start with a clear 2D image, describe the depth or visual style you want, and let Owl3D interpret the scene into a depth-aware result. Review the subject edges and background separation before using the output.
Sharp images with a distinct subject, consistent lighting, and visible foreground and background cues are usually the easiest to interpret. Extremely blurry, dark, crowded, or heavily compressed images may produce less reliable depth.
Not with certainty. The source does not contain verified information about hidden sides or areas outside the frame, so any added view of them is an estimate rather than recovered photography.
The conversion creates a more dimensional visual result from the image, but it should not be assumed to equal a fully modeled, textured, and rigged asset. Use a dedicated 3D production workflow when exact geometry or animation is required.